How to Crochet a Slip Stitch | Step-by-Step Guide
Slip Stitch Back Loop Only | Crochet Made Easy by Yarn Over Hook
How to Crochet the Slip Stitch (Back Loop Only)
A simple, textured stitch that adds beautiful detail to ribbing, cuffs, hats, scarves, and more. This beginner-friendly guide walks you through the slip stitch step-by-step so you can start using it confidently in your projects.
What Is a Slip Stitch in Crochet?
A slip stitch (sl st) is one of the simplest and shortest stitches in crochet. Unlike taller stitches like single crochet or double crochet, a slip stitch creates very little height, which makes it perfect for joining pieces, finishing edges, and creating tight, clean transitions in your work.
When worked in the back loop only (BLO), the slip stitch transforms into a beautiful, flexible ribbed texture that’s ideal for:
- Hat brims
- Cuffs
- Socks
- Cowls
- Blankets
- Any project that needs stretch or subtle texture
Slip stitches are also frequently used to:
- Join rounds in the round
- Move your yarn to a new position without adding height
- Tighten or secure the edges of a project
- Add decorative lines or ridges
Even though it’s a tiny stitch, it’s incredibly versatile—and once you learn it, you’ll use it constantly.
Watch the Step-by-Step Slip Stitch Tutorial
Want to see each step in slow, clear detail? In this video, Sammi from Yarn Over Hook talks you through every part of the slip stitch.
Step-by-Step Slip Stitch (BLO) Instructions
In this tutorial, Sammi from Yarn Over Hook walks you through how to complete the slip stitch. These instructions are written in US crochet terms.
1. Insert your hook into the back loop only
- Locate the back loop — the loop farthest from you — and place your hook behind the front loop to enter between the stitches.
2. Yarn over
- Wrap the working yarn over your hook from back to front.
3. Pull through the back loop
- Draw the yarn through the back loop only.
- You’ll now have one loop on your hook.
4. Pull through the loop on your hook
- This completes one slip stitch.
5. Repeat across your row
- For ribbing texture, always work BLO (back loop only).
- For finishing or edging, you can insert into the full stitch.
Slip Stitch Crochet Tips
- BLO slip stitch creates beautiful ribbing texture
- It’s perfect for cuffs, cowls, blankets, and hat bands
- Working in the full stitch removes the twisted look
- This stitch is dense — expect slower progress, but worth it
Watch on YouTube → Full-Video & Short
Ready to keep learning?
Explore your next stitch.
Learn How to Read Crochet Patterns & Charts (US + UK). Then, check out these foundational stitches:
- the magic ring
- the extended single crochet
- the half double crochet
- the double crochet
- the bobble stitch
- the treble crochet stitch
Keep building your crochet confidence with more free resources from Yarn Over Hook:
Find Your Next Crochet Project
Explore patterns, guides, and maker-created resources from the Yarn Over Hook marketplace.
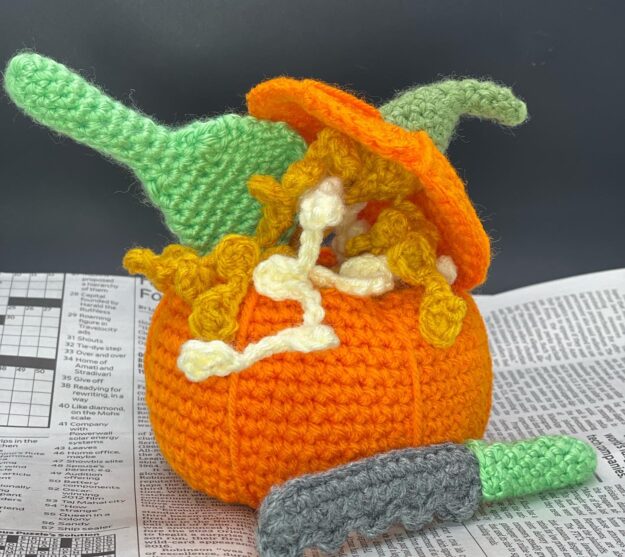
A Gourd Time for Pumpkin Carving – DIGITAL PATTERN
$3.00 Tax calculated at checkout
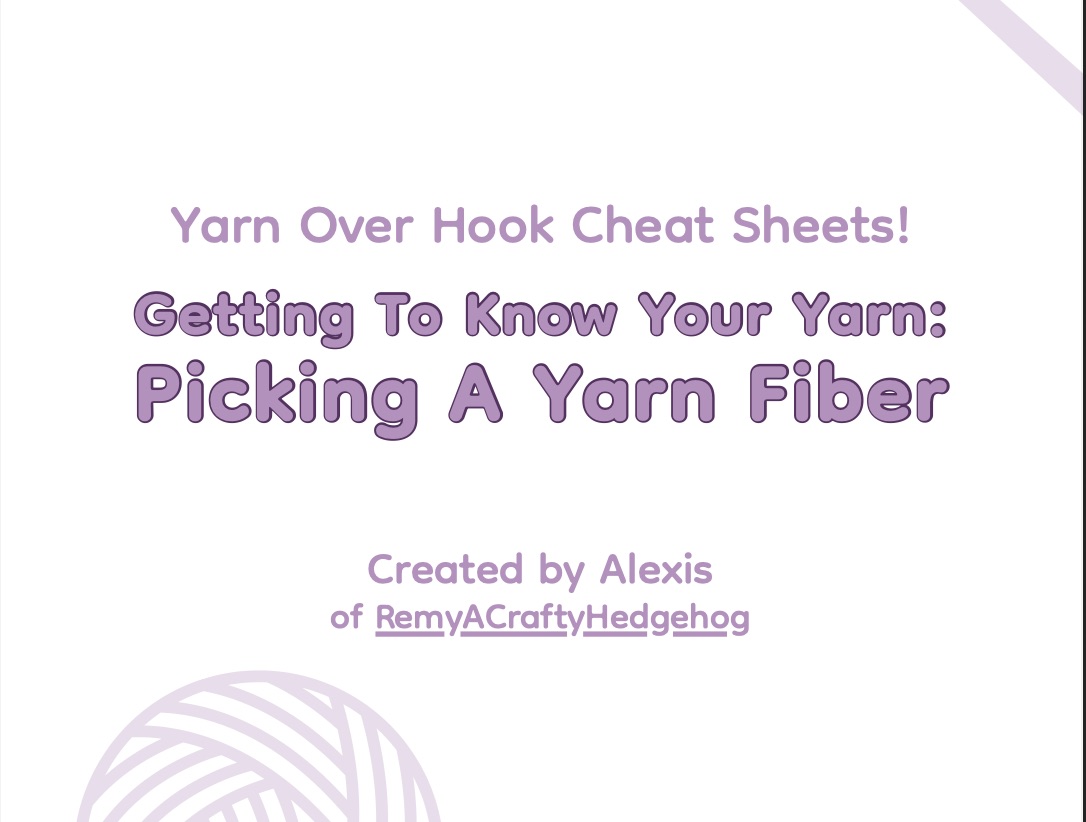
Picking a Yarn Fiber Crochet Cheat Sheet | Free PDF Guide
$0.00
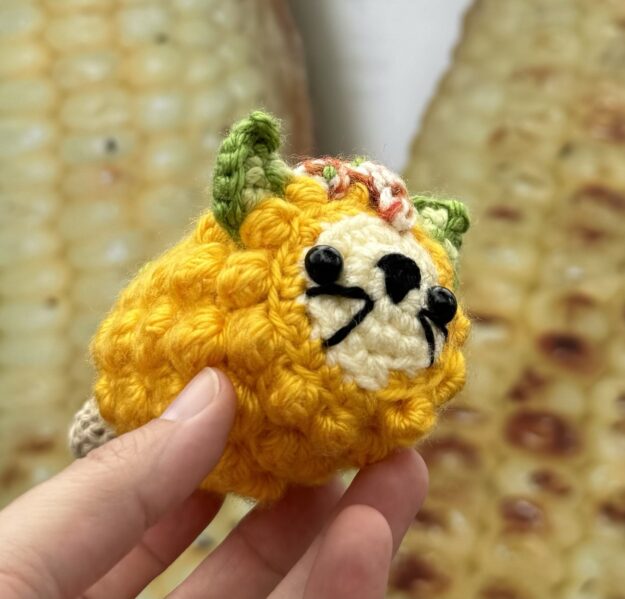
Elote Cat – Corn Cat Crochet Pattern
$3.00 Tax calculated at checkout
Crochet is Community
Join the global crochet community you didn’t know you needed.
Crochet, community, and connection — all in one place! Free to join. Made for crocheters of every level.
Our Promise
- We put community first in every decision.
- We create original, authentic content made by crocheters, for crocheters.
- We aim to inspire and educate through every touchpoint.
Are You a Crochet Designer or Maker?
Share your work with a global audience in our curated, AI-free marketplace. Apply to sell your crochet patterns and maker resources and grow your creative business.
Get the Newsletter