How to Crochet a Magic Ring (Magic Circle)
Watch the Magic Ring in Action
The magic ring (also called a magic circle) is one of those game-changing crochet skills that makes your projects look clean, polished, and professional.
If you love amigurumi, granny squares, or anything worked in the round, learning the magic ring will help you start with a perfectly closed center every time.
In the video below, you’ll see the magic ring in action. Keep scrolling for a full, step-by-step breakdown, written instructions, and a guided tutorial with audio.
This is our most-watched magic ring video. For a full audio walkthrough, keep scrolling to the step-by-step tutorial.
What Is a Magic Ring in Crochet?
A magic ring (or magic circle) is a way to start crochet projects that are worked in the round, like amigurumi, hats, coasters, and granny squares.
Instead of chaining and joining into a loop, you create an adjustable ring of yarn, crochet your first round of stitches into that ring, and then pull the tail to close the center completely.
The result?
- No hole in the middle
- A neat, tight center
- A more professional finish for your crochet projects
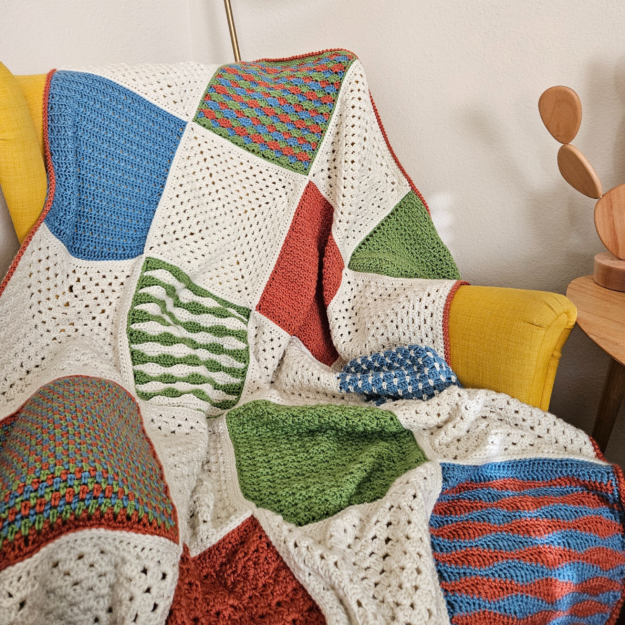
Warm Beginnings Blanket | 2026 NYNB
$4.50
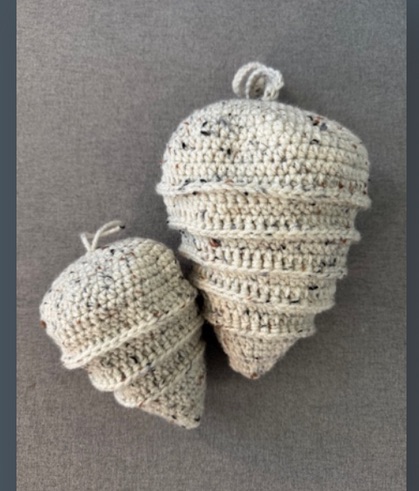
Crochet Wasp Decoy Pattern (2 Sizes)
$0.00
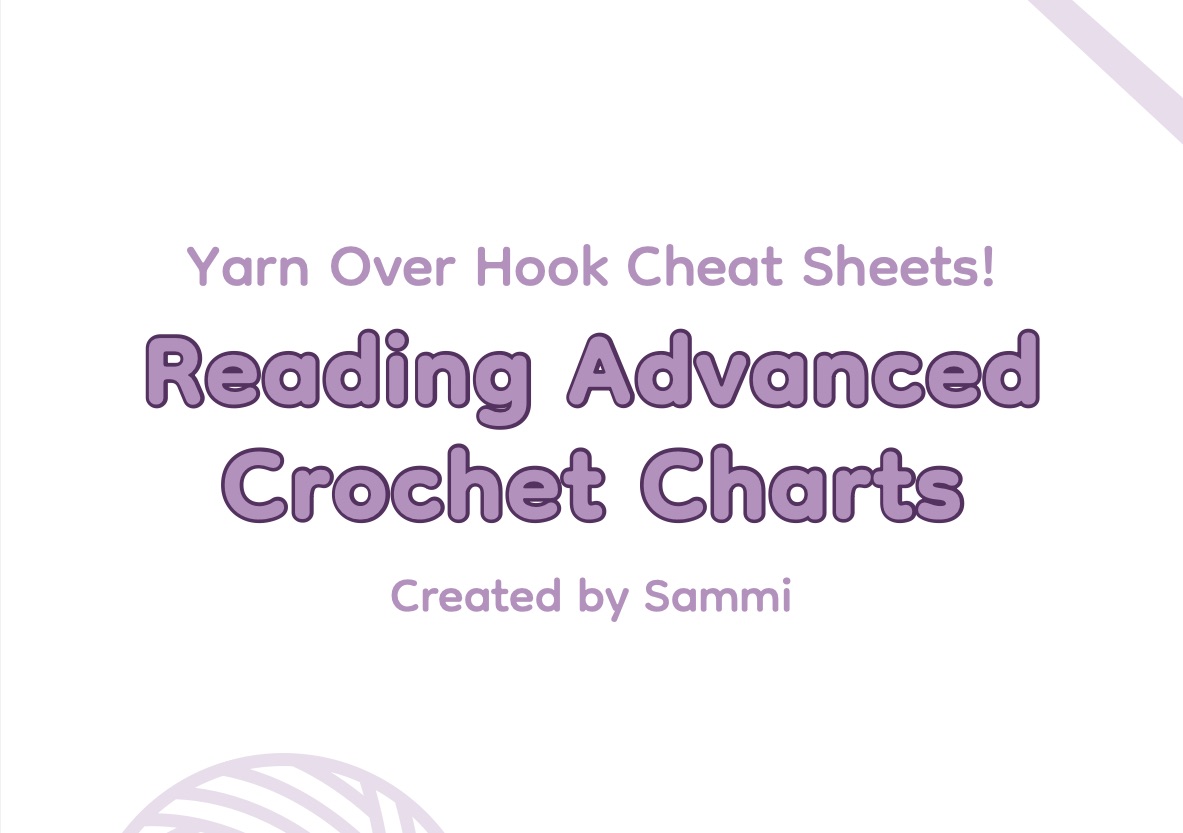
Reading Advanced Crochet Charts | Free PDF Cheat Sheet
$0.00
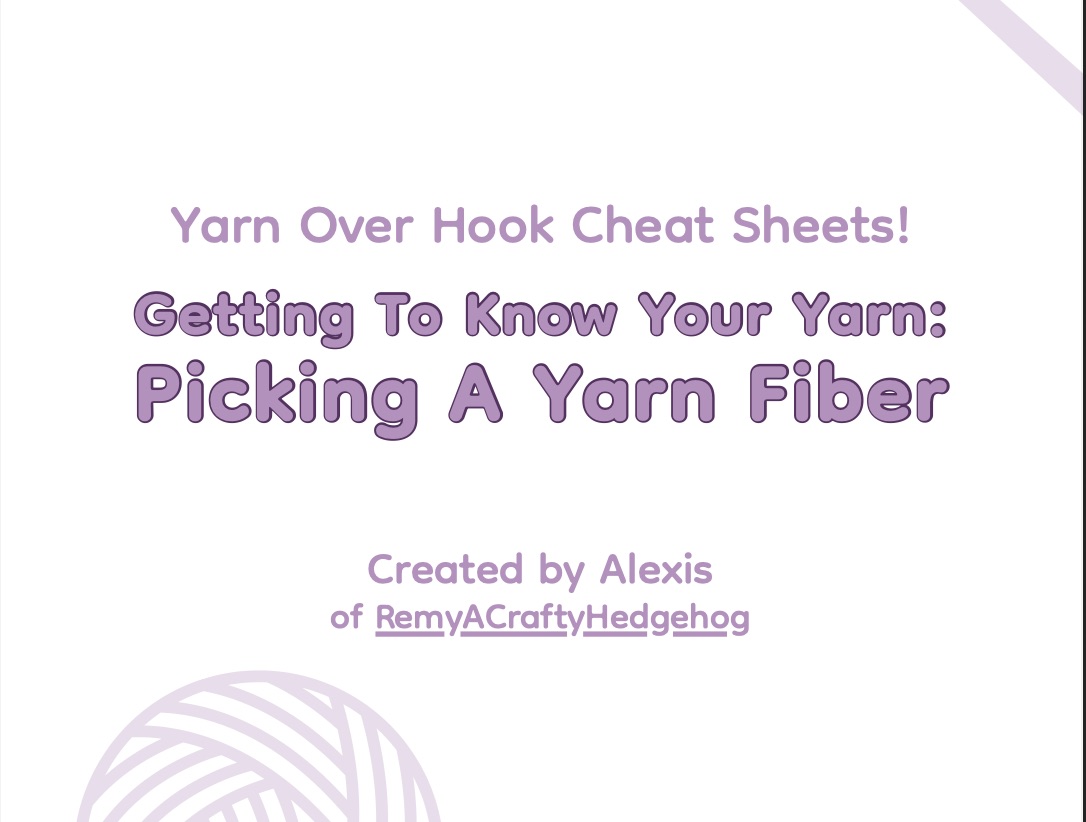
Picking a Yarn Fiber Crochet Cheat Sheet | Free PDF Guide
$0.00
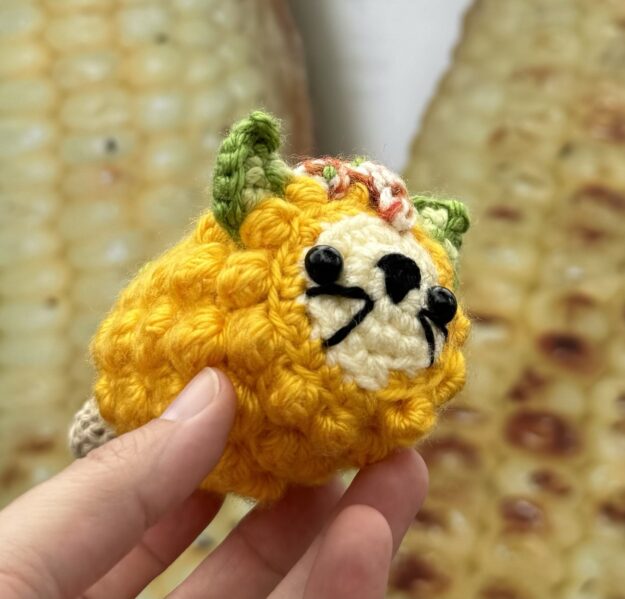
Elote Cat – Corn Cat Crochet Pattern
$3.00
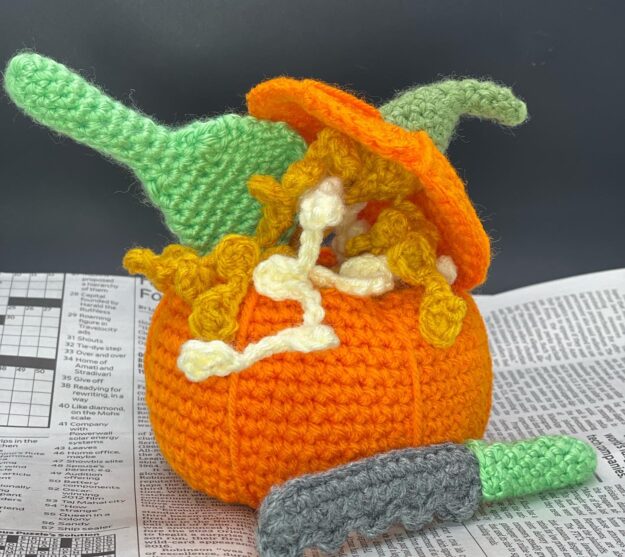
A Gourd Time for Pumpkin Carving – DIGITAL PATTERN
$3.00
How to Crochet a Magic Ring: Step-by-Step (Right-Handed)
In this tutorial, Sammi from Yarn Over Hook walks you through how to make a magic ring, work your first round of single crochet stitches, and get ready to crochet in a spiral. These instructions are written in US crochet terms.
Step 1 – Hold the Yarn
Take the tail of your yarn in your crocheting hand.
- If you’re right-handed, that’s your right hand.
- If you’re left-handed, you’ll mirror these steps in your own way, but the concept is the same.
Step 2 – Wrap the Yarn Around Your Fingers
With your non-crocheting hand (for Sammi, that’s the left hand), bring your index and middle finger together.
- Lay the tail across those two fingers and pinch it in place with your thumb.
- Turn that hand over so the top of your fingers are facing you.
- Wrap the working yarn (the yarn coming from the skein) over, then under, then over your fingers again, forming an “X” shape on the back of your fingers.
- Use your ring finger and pinky to gently hold the working yarn in place.
Tip: Don’t wrap the yarn too tightly — you’ll need a bit of slack to get your hook under the strands.
Step 3 – Insert Your Hook Under the “X”
- 1. Take your crochet hook and slide it under the front leg of the “X” on your fingers (for right-handed crocheters, this is the right-hand leg of the X).
- 1. Scoop your hook so it’s also under the strand behind it.
- 1. Use your hook to grab the working yarn and pull up a loop.
Step 4 – Lock the Loop to Form the Ring
With that loop now on your hook:
- Yarn over (grab the working yarn again with your hook).
- Pull it through the loop that’s already on your hook — just like making a chain.
This locks the loop in place so the ring doesn’t fall apart.
✅ You’ve now formed your magic ring / magic circle foundation.
Step 5 – Crochet the First Round of Stitches
For this demo, Sammi works 6 single crochet (SC) into the ring — this is a very common way to start amigurumi patterns.
- Insert your hook into the center of the ring.
- Yarn over and pull up a loop (2 loops on your hook).
- Yarn over again and pull through both loops on your hook — that’s 1 single crochet.
- Repeat until you have 6 single crochet stitches worked into the ring.
🔒 Tip: As you work into the ring, try to crochet over both strands (the ring and the tail). This helps lock everything in place and makes your center extra secure when you tighten it.
Step 6 – Tighten the Magic Ring
Once you’ve made your first round of stitches:
- Find the tail end of your yarn.
- Pull on the tail firmly but gently to tighten the ring.
- The center hole should close up, creating a neat, tight circle.
Step 7 – Find Your First Stitch & Add a Marker
Now you’re ready to move on to the next round.
- Look for the first stitch you made into the magic ring.
- Insert your hook into that stitch to begin your next round.
- Before you keep going, place a stitch marker in that stitch.
This will mark the beginning of your round, which is especially important if you’re crocheting in a spiral (around and around without joining).
Step 8 – You’re Ready to Crochet in the Round
That’s it! Congratulations, you’ve just made a magic ring / magic circle, worked your first round of stitches, and prepared your piece for crocheting in the round.
You can now follow your pattern for:
- Amigurumi
- Granny squares
- Hats
- Motifs and more
Watch the Step-by-Step Magic Ring Tutorial
Want to see each step in slow, clear detail? In this video, Sammi from Yarn Over Hook talks you through every part of the magic ring, from holding the yarn to placing your stitch marker.
Magic Ring Troubleshooting: Common Problems & Fixes
- “There’s still a hole in the middle.”
- Make sure you’ve pulled the tail yarn firmly after your first round of stitches.
- Try working over both strands (ring + tail) to lock things in.
- “My ring is too tight to work into.”
- When you wrap the yarn around your fingers, keep it a bit loose.
- You can also use a slightly larger hook for the first round, then switch back.
- “I lose track of where my round starts.”
- Always place a stitch marker in the first stitch of your round after completing it.
- “My stitches look twisted or uneven.”
- Check that you’re inserting your hook through the two top loops of each stitch.
- Slow down on the first few rounds — it gets easier as your circle grows.
Watch on YouTube → Full-Video & Short
Ready to keep learning?
Explore your next stitch.
Learn How to Read Crochet Patterns & Charts (US + UK). Then, check out these foundational stitches:
- the extended single crochet
- the half double crochet
- the double crochet
- the slip stitch
- the bobble stitch
- the treble crochet stitch
Keep building your crochet confidence with more free resources from Yarn Over Hook:
About Your Crochet Instructor
Hi, I’m Sammi, one of the makers behind Yarn Over Hook. I love helping crocheters feel more confident with the stitches and techniques that unlock everything from amigurumi to heirloom blankets.
On our YouTube channel and here on YarnOverHook.com, I share clear, friendly tutorials designed to meet you exactly where you are — whether this is your very first magic ring or your hundredth amigurumi. 💛
Crochet is Community
At Yarn Over Hook, we believe every stitch tells a story and together, those stories form the fabric of a worldwide community.
Crochet connects us — across time zones, backgrounds, and generations.
Discover All the Ways You Can Connect
Want to see what’s happening inside Yarn Over Hook? Join for free and start connecting with makers around the world today!
Our Promise
- We put community first in every decision.
- We create original, authentic content made by crocheters, for crocheters.
- We aim to inspire and educate through every touchpoint.
Are You a Crochet Designer or Maker?
Share your work with a global audience in our curated, AI-free marketplace. Apply to sell your crochet patterns and maker resources and grow your creative business.